Create glossary with UI
This guide walks you through the process of using Glossaries in the Palabra user interface. Glossaries let you define how the Speech-to-Speech Translation API recognizes and translates specific words or phrases. This is especially useful for ensuring consistent and accurate translations of professional, technical, or brand-specific terminology.
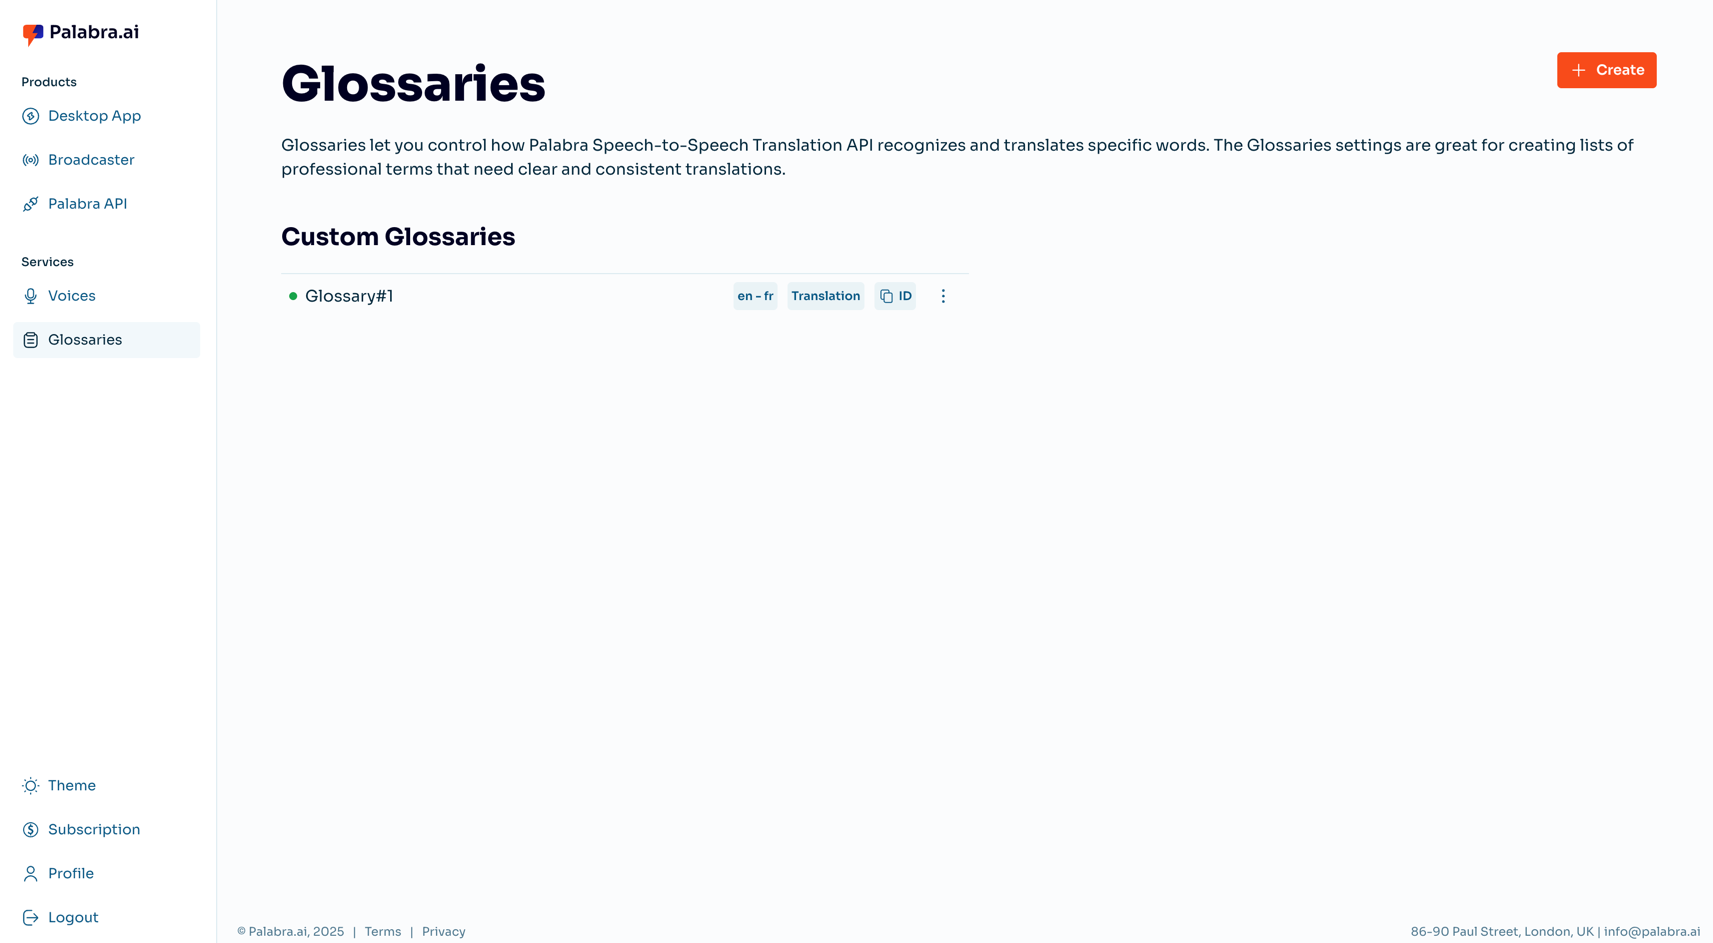
Accessing glossaries
- Open the Palabra web interface
- Login to your Palabra account
- Navigate to Glossaries page
Glossary Setup Process
Step 1: Prepare your file
Requirements for a glossary file:
Accepted formats: CSV
Maximum file size: 1 MB
The required file format depends on the Glossary Type:
- Translation: Two words per row — first the term in the Source Language, followed by the term in the Target Language.
- Validation: Two words per row — both terms in the Source Language.
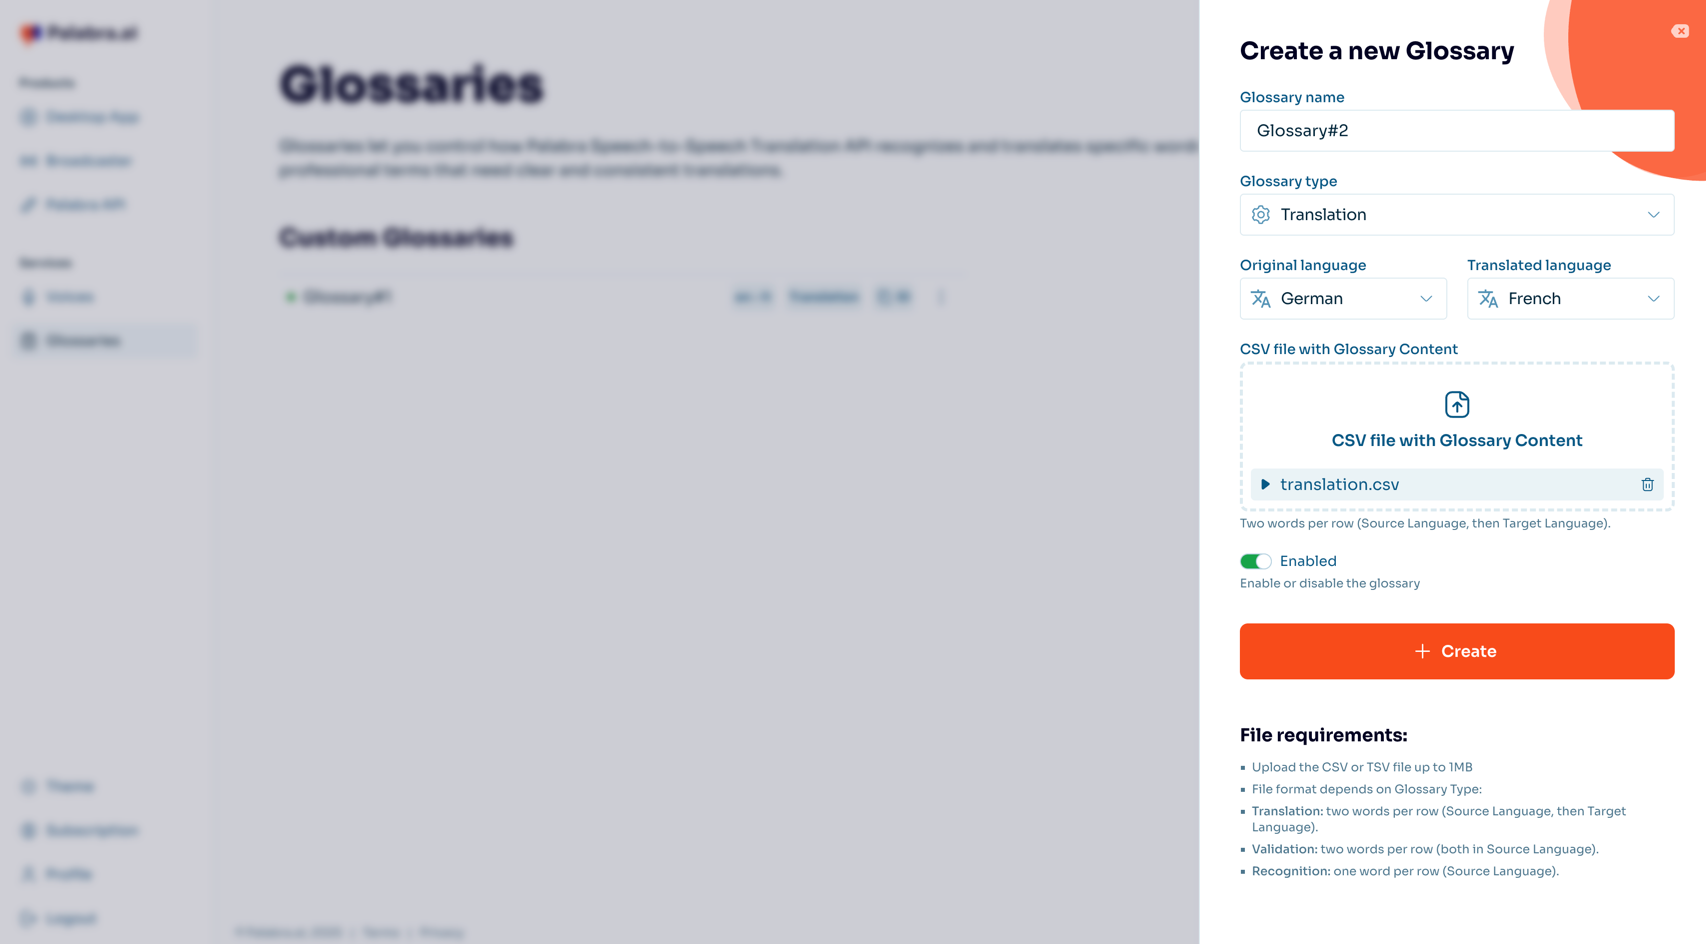
Step 2: Upload the glossary file and fill all required fields
- Click the Create button.
- The glossary creation interface will appear.
- Enter the Name of the glossary.
- Select the Glossary Type (Translation, Validation, or Recognition).
- Choose the glossary Language.
- Upload the prepared glossary file.
- Set whether the glossary is Enabled or Disabled.
- Click the Create button.
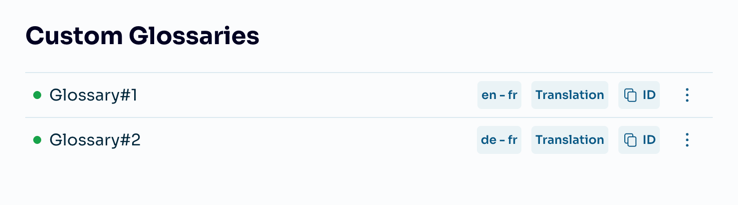
Once processing is complete, you will see your glossary in the Custom Glossaries section.
Managing your glossaries
To manage your glossaries:
- Navigate to Glossaries
- Here you can:
- View all your glossaries
- Edit glossary information
- Click on three dots
- Click edit
- Edit the glossary
- Click save
- Delete glossary
- Click on three dots
- Click delete
- Download glossary file
- Click on three dots
- Click download
The green dot next to the glossary name indicates that the glossary is enabled.